A Pie Crust Primer, Part 1
Okay, so here’s how I do it. I’m not claiming this method to be The Best Way to make a pie crust, but it works for me. So far nobody’s ever gagged or sent a slice back to the kitchen.
As you’ll see, it’s really fairly simple, especially if you use a food processor. And as long as you have the food processor out you might as well make a bunch. Double, triple, quadruple the recipe; the Queen is confident you can do the math. How gratified you will feel to reach into your freezer and pull out a disk of dough – ready for the next day’s baking!
I mentioned this to Nora Ephron recently, (no, the Queen is not above name-dropping) when we were discussing pies. She looked at me with something like pity and said, “Obviously, you don’t live in New York.”
I tried not to gasp. How could she tell? Was it my John Deere suspenders? The straw poking out of my pocket? Perhaps my eau de manure cologne?
Thankfully, none of the above. Ms. Ephron was under the impression that in order to make multiple pie crusts, one must be in possession of an enormous amount of freezer space, something residents of Manhattan are presumably likely to shun in favor of other things -- all 20 volumes of the Oxford English Dictionary, say, or their collection of Matisse lithographs. I didn’t get around to explaining that these petite disks take up less space than a bread plate, far less, in fact, than the cardboard box that holds the Pillsbury Unroll and Bake or a plastic carry-out container from Gourmet Garage. And anyway, I’m not going to argue with Nora Ephron. I mean, take a look at Heartburn and see what happened to Carl Bernstein when she got pissed off at him. . .
Pie crust for a double-crust pie
2 ½ c. flour (unbleached white flour is the best choice here.. Don’t use whole-wheat unless you want a leaden crust)
1 t. sugar
1 t. salt
2 sticks butter (unsalted; if you only have salted, omit the tsp. salt in the recipe)
1/3 – ½ c. ice water
Step 1:
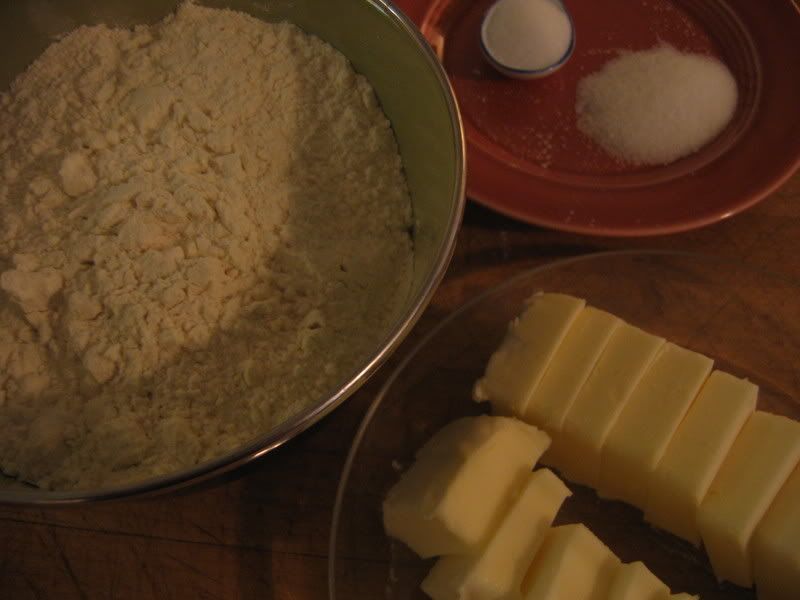
Gather all your ingredients together. Make sure your butter is well-chilled; slice each stick into 10-12 pieces.
Step 2:
Throw the flour, sugar, and salt into your food processor and give it a whirl.
OR (if you don’t have a food processor or are determined to do things The Hard Way):
Throw the flour, sugar, and salt into a bowl and stir it up.
Step 3:
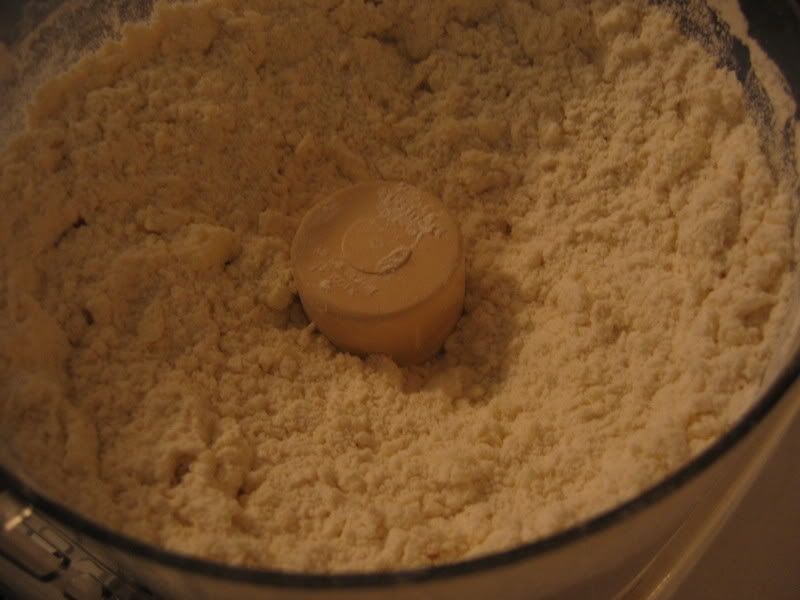
Add the butter, using the Pulse button until the butter and dry ingredients look like coarse sand or pebbles or tiny bubbles.
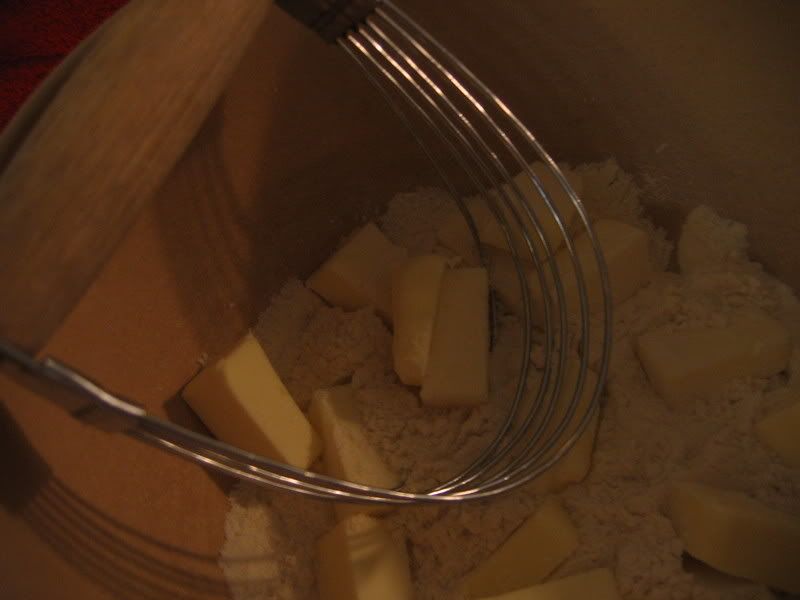
OR …Using one of these nifty gadgets called the Pastry Blender (or two knives, in pinch), smash the butter into the dry ingredients, trying to achieve the same gravel-y results.

Step 4:
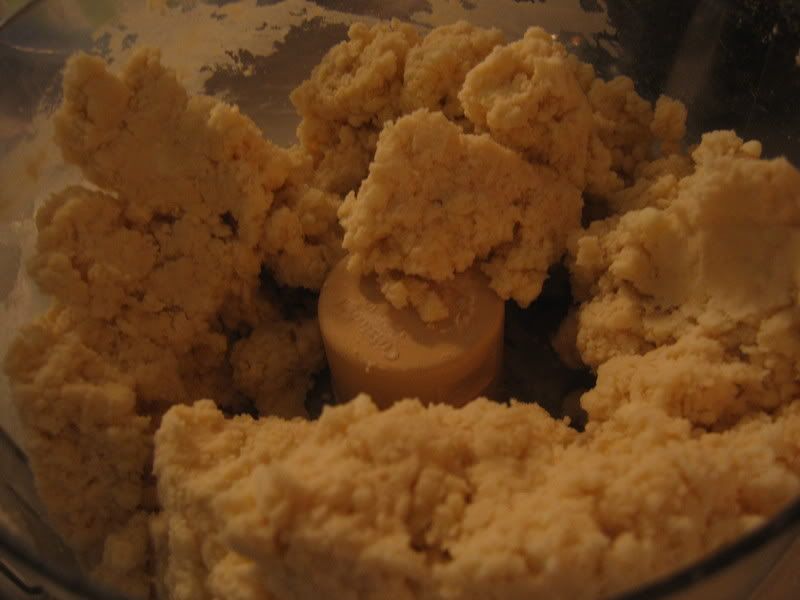
Add 1/3 c. ice water to processor, and pulse again, until mixture seems to be coming together. If this is not happening, add another ¼ c. or so. Stop pulsing and check to see if you can form dough into a ball. If so, stop. If still too dry, add a bit more of ice water and pulse to combine.
OR…Sprinkle ice water over butter/flour mixture and using a fork, mix until dough can be patted into a ball, adding slight amounts of ice water if necessary.
Step 5:
Divide dough into two parts.
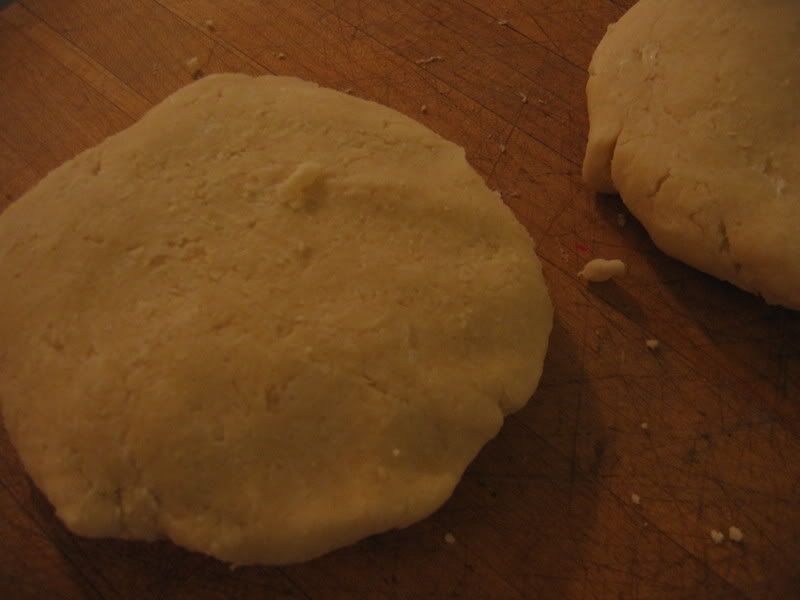
Pat each into a disk, flatten slightly, wrap in plastic wrap. If you plan to use dough immediately, put in refrigerator and let chill for at least a half an hour.
If you plan to reserve for later, toss into freezer.
Step 6:
Take dough out of refrigerator about 10 minutes before you’re ready to roll. (Literally and figuratively)
Step 7:
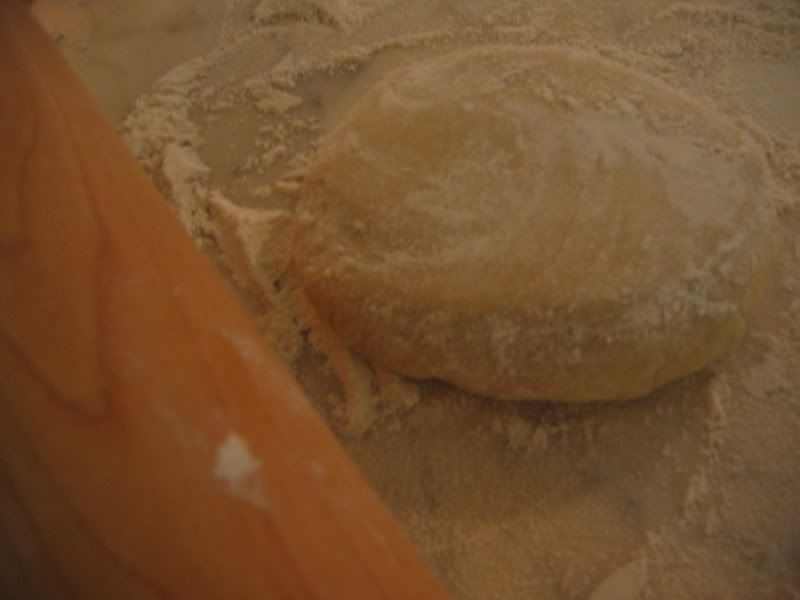
Sprinkle work surface with lots of flour. If you have a marble pastry board, pull it out and use it. If you don’t, consider acquiring one. Alternately, consider acquiring a husband who will give you one for Christmas. (What, you don’t think this is romantic? Maybe not but it does adhere to the gift mandate the Queen once issued to her king: Nothing with a Plug.)
Step 8:
Pull out your rolling pin and wave it menancingly in the direction of anyone who looks skeptical at your pie-making prowess. Make sure you have a pie plate at the ready.
Step 9:
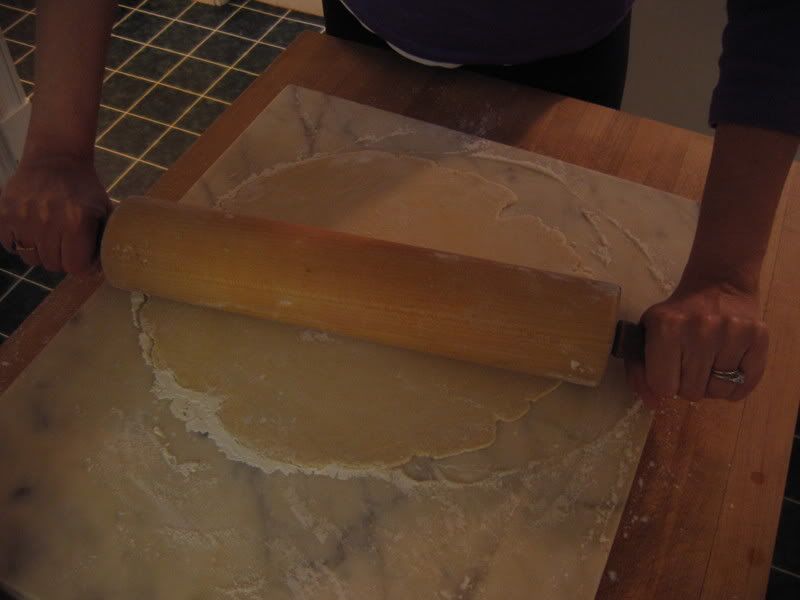
Remove plastic wrap from dough and position disk in middle of well-floured work surface. Rub flour onto rolling pin, too. Take a deep breath. Place rolling pan on dough and roll outwards, away from you. Gently lift dough and give it a quarter turn before placing back on board and repeating the away-from-you rolling motion. Do another quarter turn and repeat. The goal is to avoid the back-and-forth rolling motion that is said to toughen the dough. Keep checking to make sure you have enough flour on the board and your rolling pin; you don’t want the dough sticking to either.
Step 10:
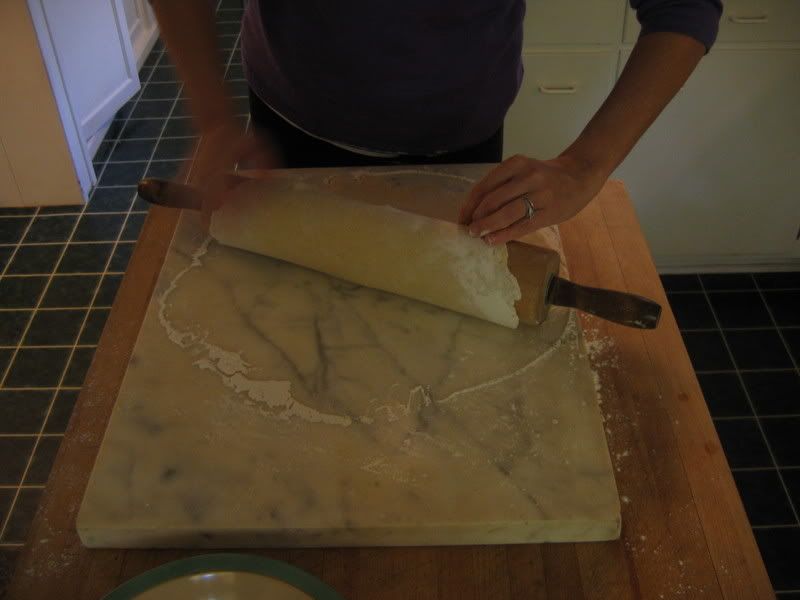
When you seem to have achieved some semblance of a circle – approximately 3 inches bigger in diameter than your pie plate, place rolling pin on top of dough. Lift one edge of the dough onto the pin and roll it up slightly. Position pie plate beneath rolling pin and then, allow dough to unroll over pie plate, shifting it gently to let pastry fall in place. Cool, huh? Ease dough into plate, pressing slightly.
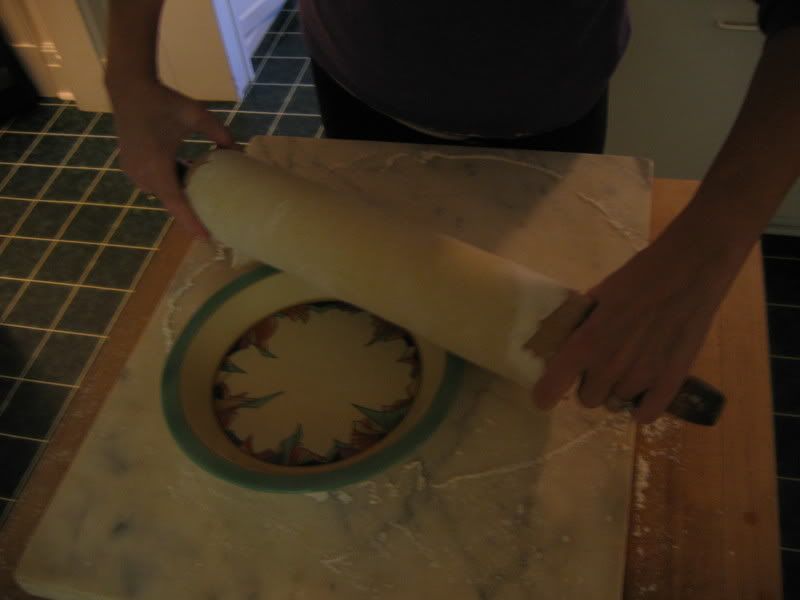
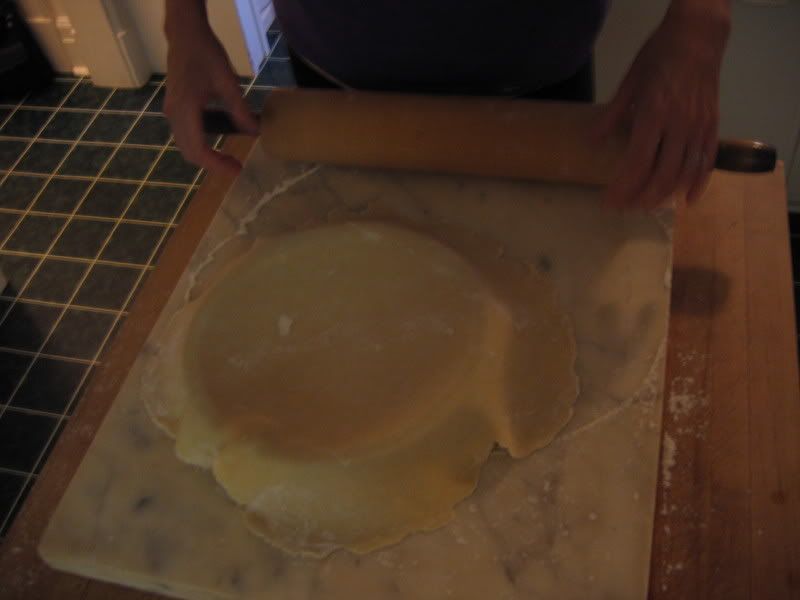
What you do next depends on the type of pie you plan to make. Some recipes require that you pre-bake a pie shell before filling; others do not. Some pies require a top crust; we’ll work on that next week. This pecan pie is very simple and requires neither a top crust nor a pre-baked pie shell.
Trim edge of pastry with scissors until it hangs about an inch or so over the edge of the plate. Lay scraps aside and wait for teenager to come and scarf them up.
Fold edge slightly under itself and then, using finger and thumb, crimp edge of crust, making indentations along pie shell.
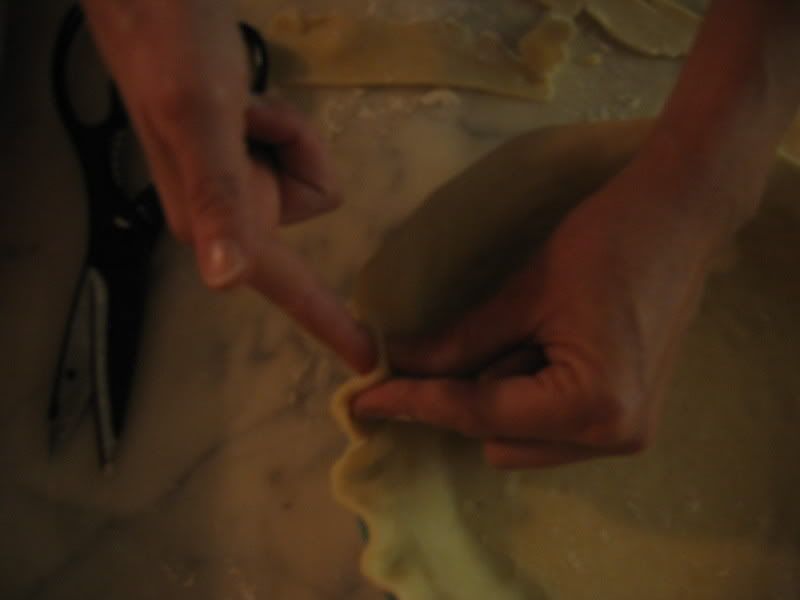
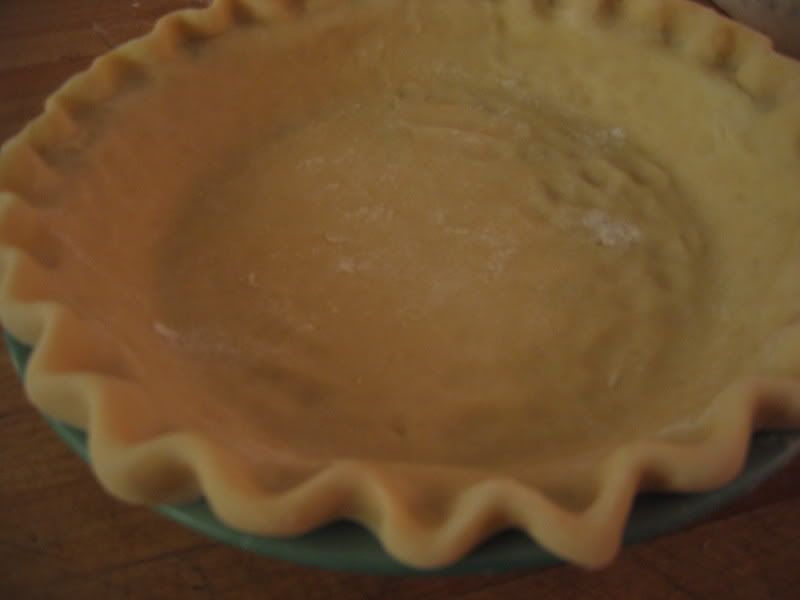
Put pie shell into refrigerator while you prepare filling.
Pecan Pie
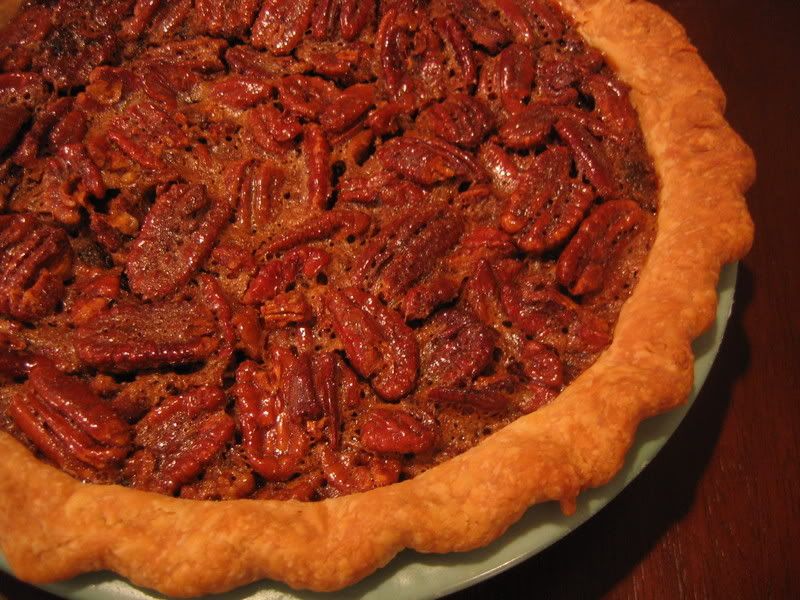
Consider this pie a Fall Classic: pecans suspended in a sugary sludge and flavored oh-so-faintly with a bracing shot of bourbon.
1 unbaked pie shell
3 eggs
1 c. dark brown sugar
1 c. light corn syrup
3 T. butter, melted
1 t. vanilla
1 T. bourbon whiskey
2 c. pecans
Preheat oven to 350. Lightly beat eggs; add brown sugar, corn syrup, butter, vanilla, and bourbon. Fold in pecans and pour into pie shell.
Bake approximately 50 minutes, or until knife inserted into pie comes out clean. Let cool.
Now it’s your turn, dear Reader!


4 Comments:
So, I was having lunch with Nora's third cousin Epi the other day. He lives out here on the left coast now, where he finds things much more hospitable and laid back compared to the land of tiny freezers. Anyway, I asked him if he knew how big a batch of pie crust one can make in a 10-cup food processor (ummmm... can I mention brand names here? It's the French-sounding one that rhymes with "cheesy fart", model DLC-10)? Anyway, Epi didn't know and suggested that I direct the question back at you.
I have a food processor, but I'm assuming that the chopping blade, the grater, and the slicer aren't what we're looking for here. Is there a mixing attachment, perhaps one that came with the food processor but was subsequently misplaced somewhere in Sir Markb's shire?
Bakerymaiden, Nora's neck looked pretty good. Your neck looks pretty good. Must be the pastry.
anonymous, How did Epi's neck look? I'd probably make no more than a double batch of pie crust per food processor bowl. Otherwise, the flour may fly.
sirmarkb, The standard s-blade, aka chopping blade, is the only attachment you'll need. Mind your fingers, though.
Epi's neck looked fine. I expected something like the geoduck-like appearance of people who have spent too much time... well... let's not go there.
I'll just say, it wasn't saggy.
_____________
(If you don't know what a geoduck is, you can always google it.)
Post a Comment
<< Home